HEADS UP – THIS CONTENT IS OLD.
What is Panorama Photography?
New to the site or just plain bored? Stalk the monkey on Facebook, Twitter, or Flickr.
Panoramic Photography is a technique in which multiple images are stiched together to increase the field of view. Panoramic Photos can consist of anywhere from 2 to an infinite number of images. With Panoramic Photography, It’s possible to have a series of images that span 360 degrees of view. A true Panoramic Photo contains a larger field of view than can be captured by the Human Eye. Photos that are cropped into a wide format are not considered to be true Panoramic Images.
To give you an idea of the scope of some of these panoramas, check out the Gigapixel Project by Kolor.
Thanks for putting me to sleep, but could you speak English?
In a nutshell, you shoot a bunch of images and stitch them together to make one big image.
What is HDR Panoramic Photography?
Here is where it gets a bit tricky. In order to create an HDR Pano, each photo in the Panoramic Series must be an HDR (High Dynamic Range) Image.
In order to understand how to create an HDR Panoramic Photo you must first understand the HDR Photography Process. You can quickly get up to speed by reading my tutorial on HDR (High Dynamic Range) Processing.
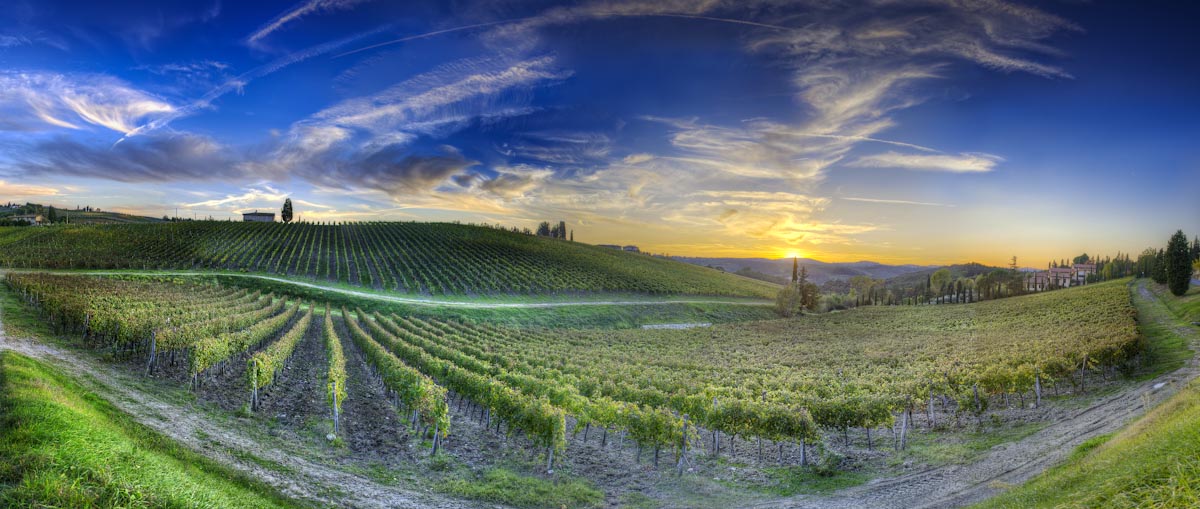
Here is an example of a Processed HDR Panorama vs a Single Exposure Panorama. Move the slider back and forth to examine the difference .
[beforeafter]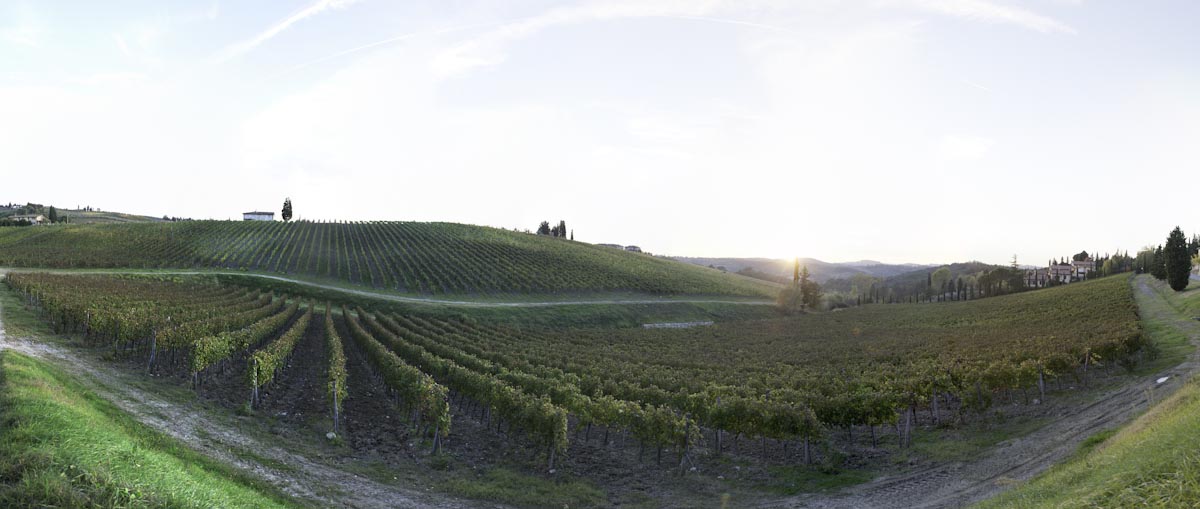
[/beforeafter]
I’m Sold! How do I create a HDR Panoramic Photo?
To begin we need to discuss some basic rules for creating a HDR Photograph as well as A Panoramic Photograph. The order that you process everything is also extremely important.
First, all Exposure Brackets must be Processed in HDR. To learn how to do this, visit my HDR Tutorial HERE. Each Shot in this panorama is an HDR Photograph. The following is an example of 9 Exposure Brackets and a Processed HDR Photograph.

Next, here is the middle row of HDR images used to create The Panoramic HDR Photograph I used in the example above. Each Image is a Fully Processed HDR. In this case, all using 9 exposures.

Since all of these images are going to be stitched together to create a Panorama, we need to establish some overlap when shooting. This is an absolute must for shooting panoramic images. It allows the software to find common elements in each photo in order to combine them together and create a seamless composite. Typically 25-35% is plenty of overlap. Let’s examine this in the following images. None the highlighted sections of overlap.

Ultimately, If shot correctly, the software should be able to stitch all the images together, creating A Panoramic Photograph. From this point you can post process this image to your hearts content.

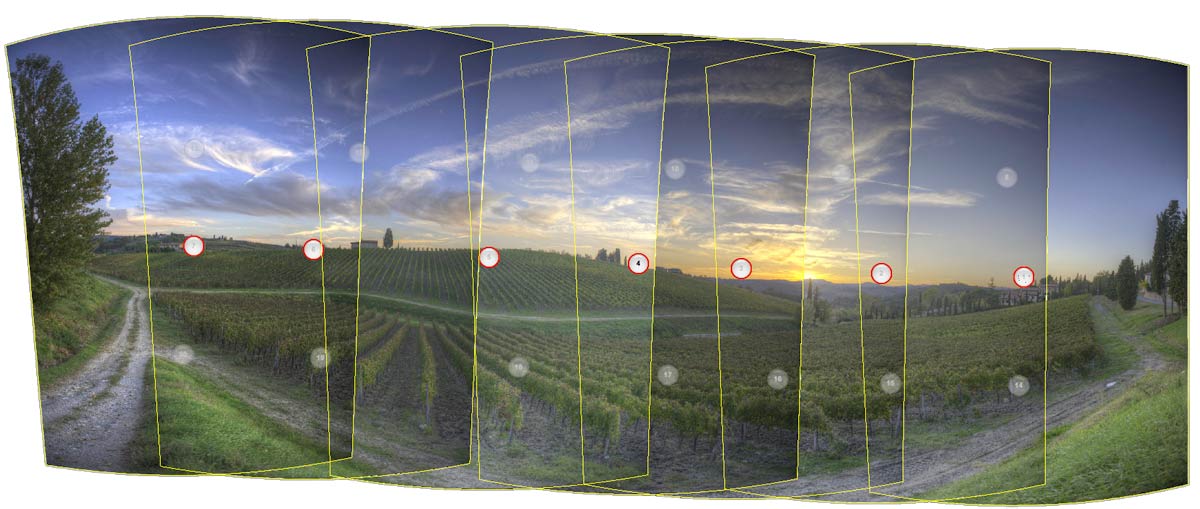
One last thing to note is that all of these images are shot vertically. When shooting horizontal panoramas, It’s best to shoot the images in vertical format. This not only gives you more top to bottom viewing area for the scene, but it causes much less warping from the stitching process. The image below shows the entire panorama without any cropping. I’ve highlighted the middle row of images. Note the cylindrical warping along the edges of the layers.
That sounds like a ton of work!? Why on earth would I want to do that!?
Creating HDR Panoramic Images is a ton of work to say the least. Since panoramas are composed of multiple images and HDR photos are composed of multiple exposures, the file count increases rapidly. The Panoramic Photo that I use in this example consists of 21 shots in 3 horizontal rows. Each shot contains 9 exposures. This brings the image total to: 189!
The resulting effect, however, is stunningly beautiful and worth all the extra effort. It’s a unique way to fully capture the moment and magnitude of the environment. It also helps if you’re a wee bit insane and don’t mind being glued to the computer monitor for many hours.
Here are a few more examples of HDR Panoramic Photographs.
More in depth training coming soon!
Recommended Software for creating HDR Panoramic Photography:
Adobe Photoshop:
If you want to be able to produce stunning imagery, Adobe Photoshop is an absolute must. Photoshop will also stitch Panoramic Images together with a nice clean result. It is also by far the simplest method for producing Panoramas. On the flip side however, it completely handles the stitching and color blending process and has no tools for editing files in intermediate states. You basically just ask it to process and either like or dislike the result.
Kolor Autopano Pro (or) Autopano Giga:
This is by far the best and most efficient way to create Panoramic Images. It has all the bells and whistles allowing you to fully edit and every aspect of the project. It allows you to view a preview of the Pano before you commit to rendering. Unlike Photoshop, Autopano allows you to tweak every aspect from layers and color correction to vertical and horizontal line correction. It also supports Multiple Exposure Brackets!

