Free Video Tutorial – Complete raw processing workflow with Adobe Lightroom Mobile
On July 13th, Adobe announced one of the biggest game changing features in mobile post-processing history by enabling complete raw photo editing on iOS. This means that any camera raw file that is supported by Adobe Lightroom Desktop will be available for editing using Lightroom Mobile on iOS as well.
Not only that, when you work on a mobile platform—whether it’s your iPhone or iPad Pro—the files and edits you make will automatically sync over the cloud and become available on your desktop. This creates a powerful and seamless ‘end-to-end’ workflow for anyone who wants to work on the go without sacrificing any quality.
In my previous post, I highlighted some of my favorite features of Lightroom Mobile and showcased some of the resulting images from my recent trip to Greece. And while it was a very thorough post and review, I also wanted to demonstrate the complete workflow process from start to finish.
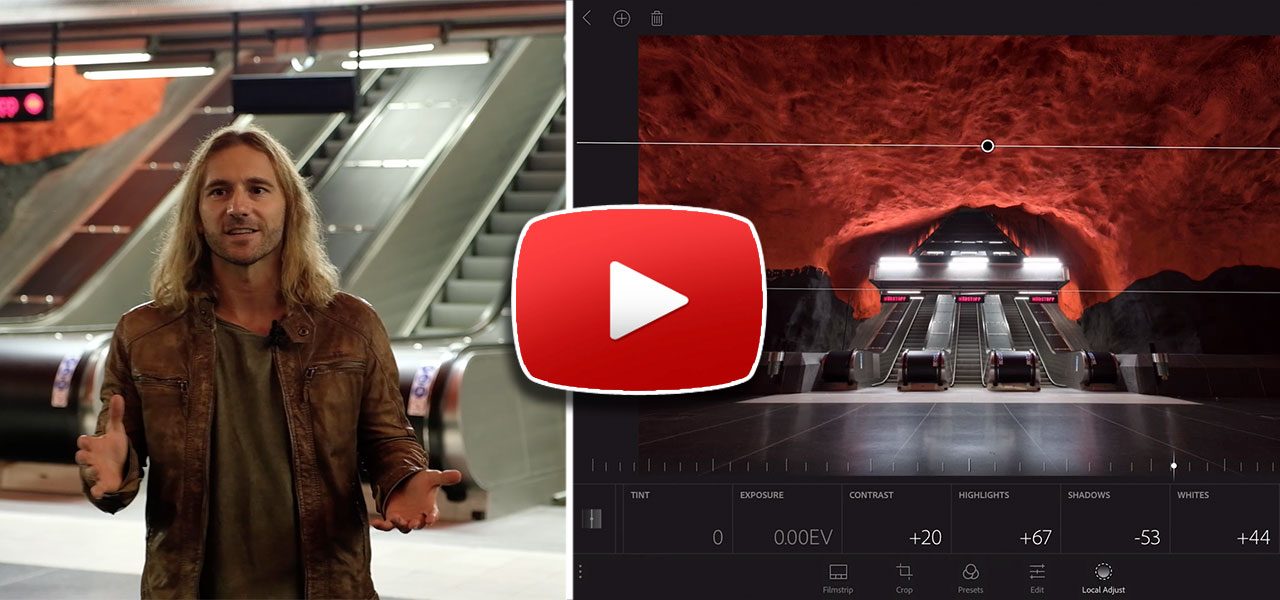
This video tutorial covers everything you need to know about Lightroom Mobile, all the way from shooting images in the field, transferring raw files to your mobile device, and syncing them to your desktop over the cloud. Not only that, this tutorial also takes things further by showing some of the Photoshop editing techniques I used to create one of my most famous photos from Stockholm, “Belly of the Beast.”
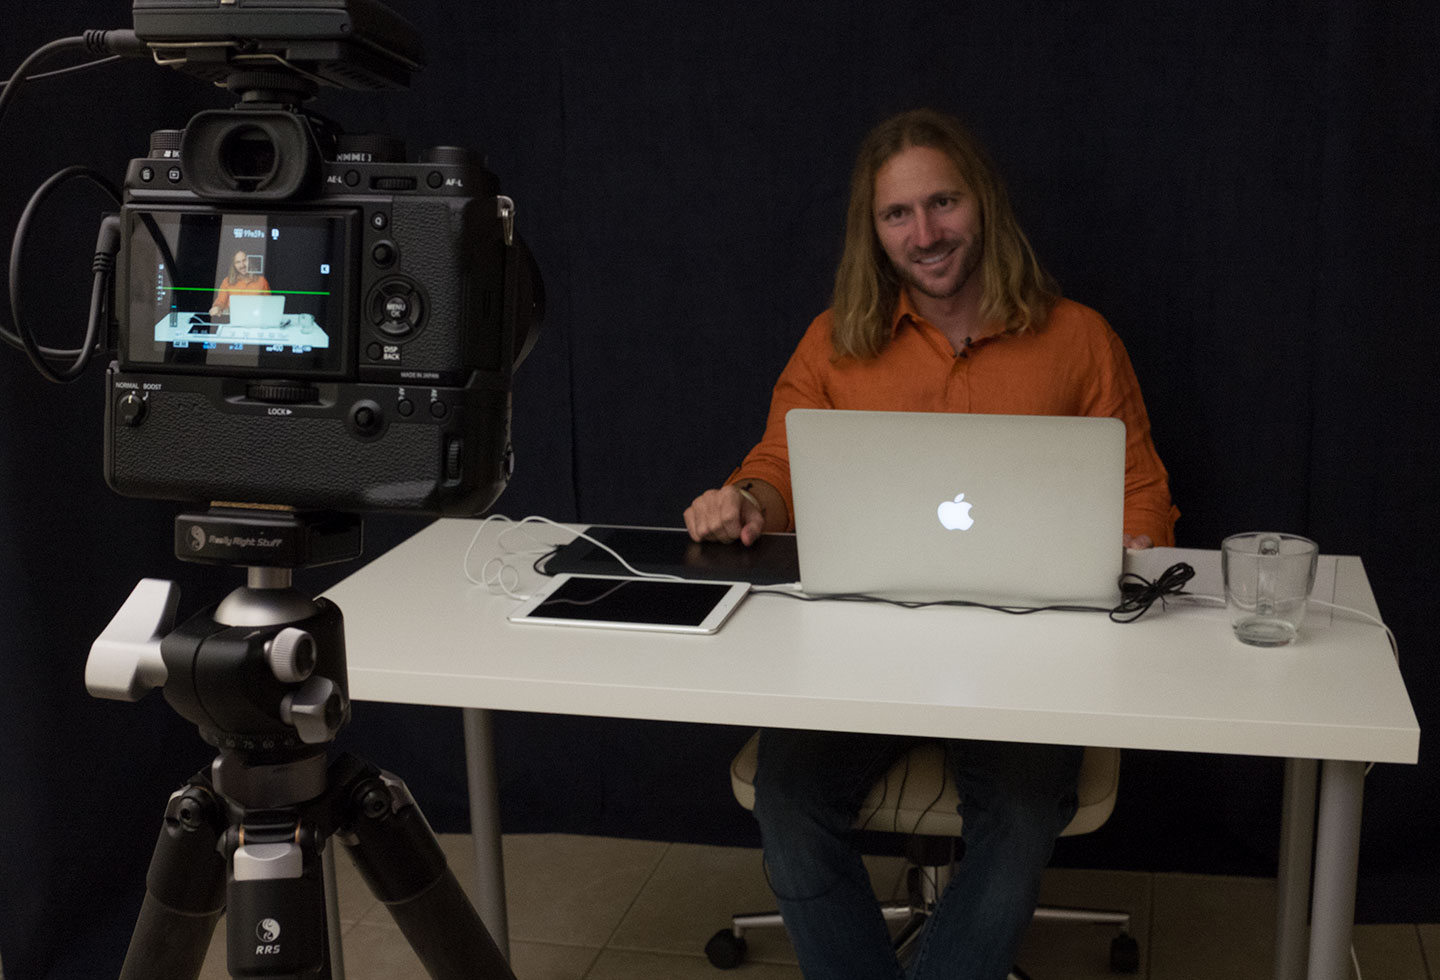
Another interesting fact about this tutorial is that the images were captured with the new Fujifilm X-T2 and the video was filmed with one as well. As most of you know, the Fujifilm X-T2 boasts some very high video specs and I have to admit that I’m very impressed with the performance! From now on, the X-T2 will be my go-to camera for creating high quality video content. You can read my detailed review of the Fujifilm X-T2 HERE.
I hope you enjoy the free tutorial and if you have any questions, feel free to post them in the comments below.


