HEADS UP – THIS CONTENT IS OLD.
Shooting and Bracketing (AEB):
I typically shoot 5-7 bracketed exposures for every shot. Very seldom do I shoot 9. Here’s why:
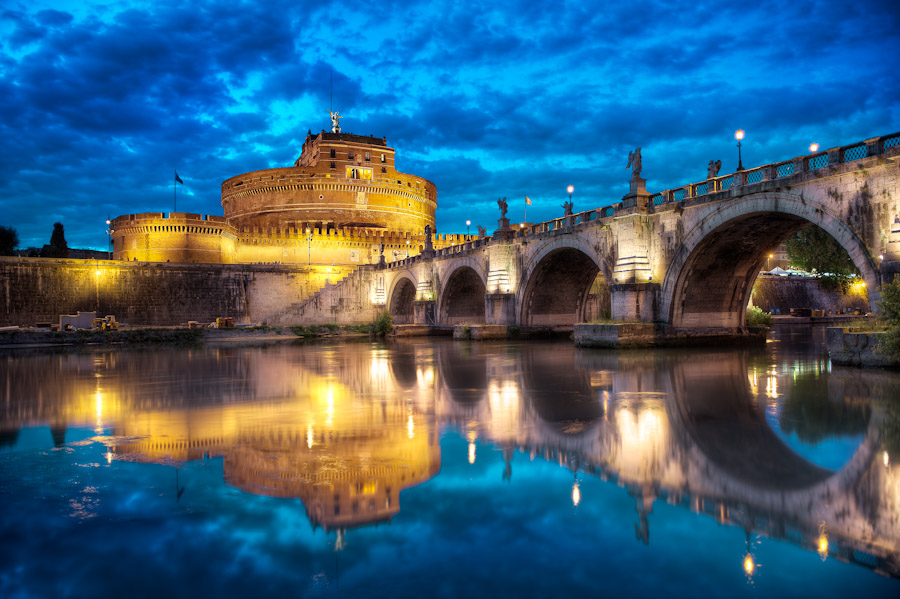
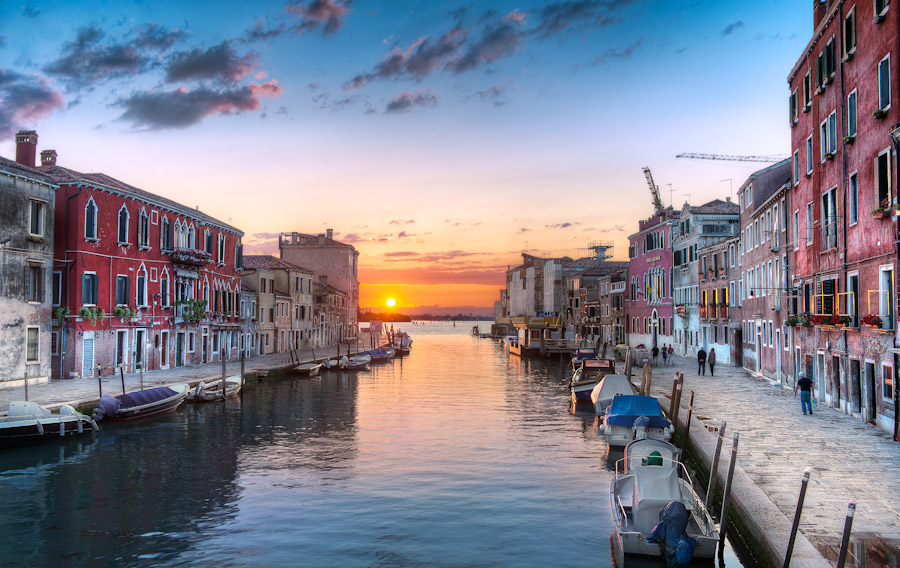
For LDR (Low dynamic range scenes) I shoot: 5 Brackets (-2,-1,0,+1,+2). Honestly, this accounts for about 90% of all my shots. It also works really well for Night scenes as well as Blue Hour Photography.
Here are a couple examples:
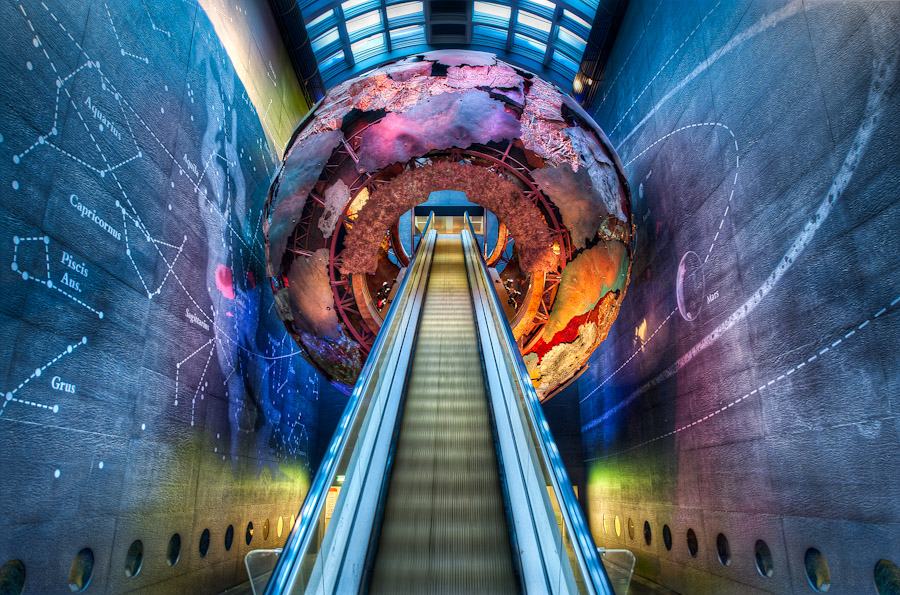
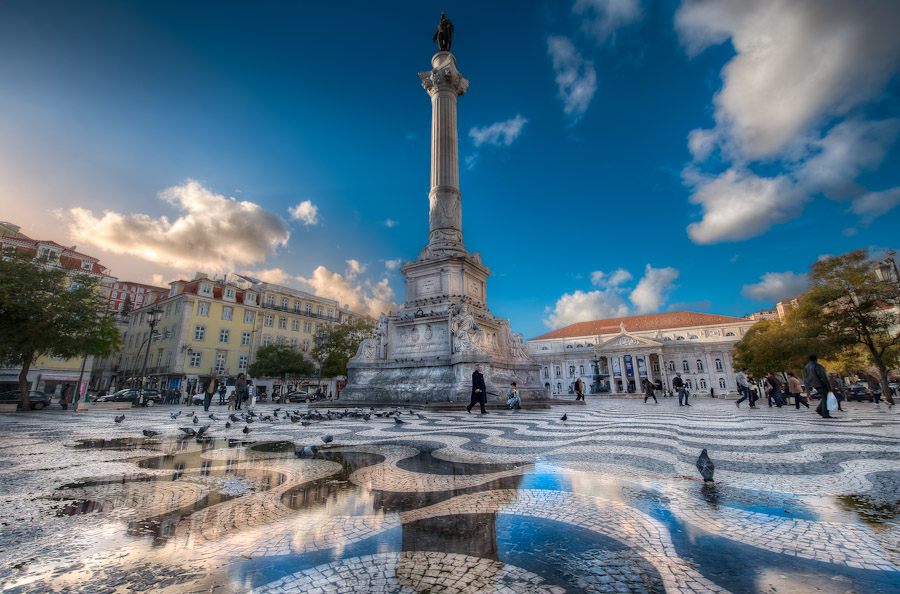
For MDR (Medium dynamic range scenes). When things have more dramatic lighting, such as layered lit skies or heavily highlighted and shadowed elements, It’s best to capture an additional stop of light. For these types of shots, I shoot 7 Exposure Brackets (-3,-2,-1,0,+1,+2,+3).
Here are a couple examples:
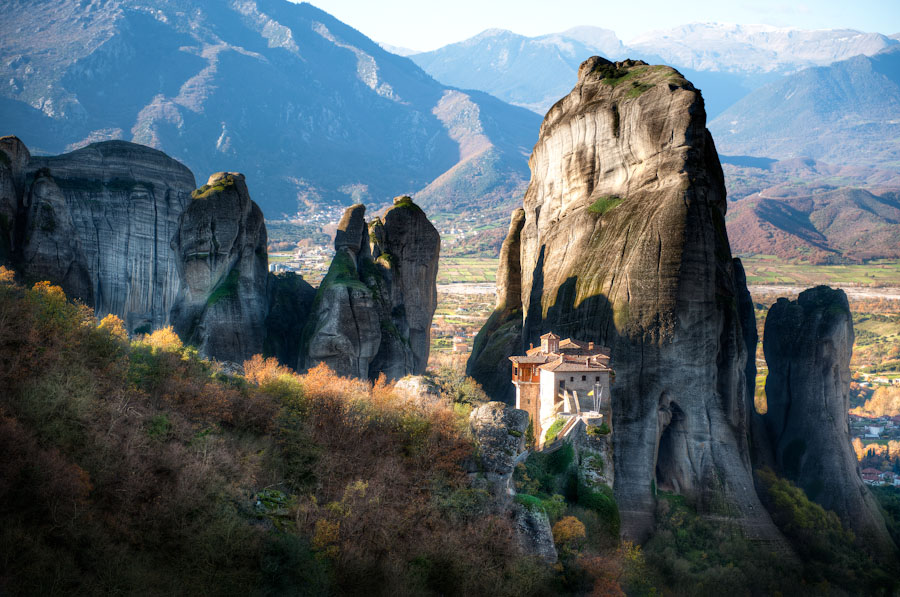
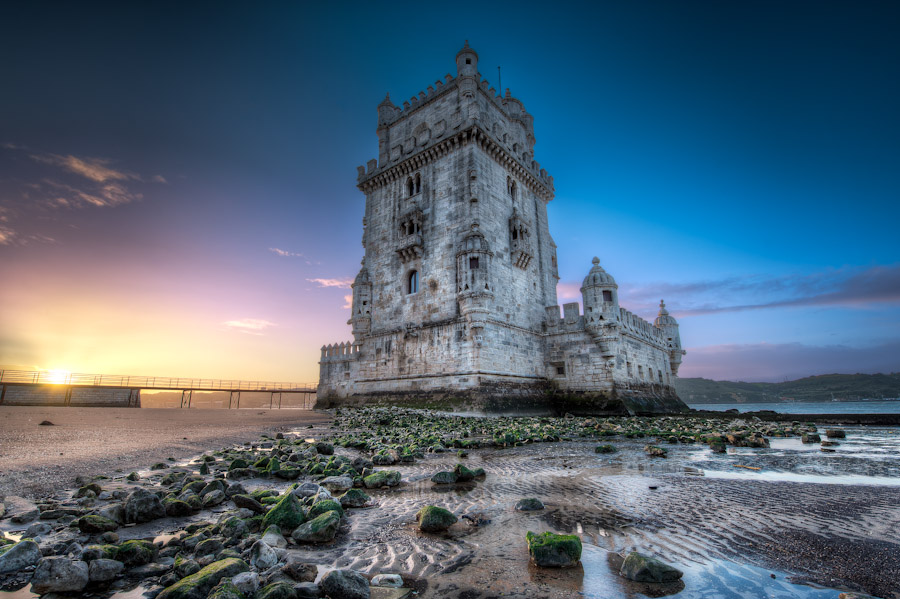
For HDR (High Dynamic Range scenes). I only shoot 9 exposure brackets (-4,-3,-2,-1,0,+1,+2,+3,+4) if the camera is pointed at a hot light source. This really works well if you’re shooting into the sun. Other than that, it’s complete overkill since most scenes don’t contain enough light to justify it.
Here are a couple examples:
My camera settings only allow 3 Exposure Brackets.
Is that still ok?
Yes, it’s absolutely fine. Just make sure to switch the camera settings for EV Spacing to +/- 2. This 3 shot format will give you the same data as my 5, since my camera only allows me to space by +/- 1 increments.
For more detailed info on this subject, visit the HDR Tutorial.
Handheld vs Tripod
Sometimes I shoot all my exposure brackets handheld, without the use of a tripod. Though not reccomended, it’s a skill of the utmost necessity.
I’ve written a series of tips for Shooting Handheld HDR Photography.
I’ve also written an extensive tutorial on the subject that teaches you how to re-align the exposure brackets and work with them in Photomatix and Photoshop. Visit the Handheld HDR Tutorial for more info.

