HEADS UP – THIS CONTENT IS OLD.
Shooting for HDR Photography
So now that you have a camera, lens, and a tripod, your ready to start shooting for HDR Processing. Before we head out and fire off a bunch of photos though, let’s examine some of what goes into the shooting aspect of HDR Photography.
Should I shoot everything with Bracketed Exposures for HDR?
No, and not just because you shouldn’t… it’s actually impossible. There are a lot of times when you can’t fire off multiple exposures. Since this is probably the easiest problem area to identify, lets break it down.
Moving subjects and Portraits: If the scene is mostly moving objects or you have to move the camera to follow the subject, don’t bother trying to capture multiple exposures; it’s a post processing nightmare. If there are just subtle object shifts such as blowing leaves, drifting clouds, or moving water, then there are some post processing tricks to remedy the movement. I will cover these techniques extensively in another tutorial.
If you are shooting portraiture and want to experiment with HDR, it only works if your subject can stay as still as stone. Photomatix Pro has a feature that allows you to create a Pseudo HDR out of one raw exposure. I’ll get into this topic another time.
Low Dynamic Range Scenes: If there is not much dynamic range to capture in the first place the only thing HDR Processing will enhance is the texture. If increased texture is what your going for then bingo. Just don’t be disappointed when the scene still looks dull after HDR Processing. This becomes evident on dreary overcast days when everything looks flat. If you don’t see any shadows and highlights, HDR will probably not save the shot. Experiment with these types of shots at your discretion. Sometimes the enhanced texture and detail is enough to pump up the already bleak mood.
Well smarty pants, when should I shoot HDR then?
Remember all that technical mumbo-jumbo I explained in Intro to HDR Photography Part 1 Tutorial?
If not, backtrack a bit. I’m patient. I’ll wait for you to catch up before I move on.
HDR (High Dynamic Range) Images are composed of multiple exposure brackets. Each one of these exposure brackets contains, you guessed it, SDR (Standard Dynamic Range.) It’s the combining of all these exposures that creates a range of color and light more closely related to what we can see and perceive.
Try to find scenes that already contain a wide range of color and light in the shadows, mid tones, and highlights. Simply put, you want to shoot elements and scenes that seem dynamic in the first place. Try and find interesting lighting scenarios or interesting shadow casts. Remember that the HDR processing will add the detail back into the dark shadows and the light sky and highlights.
A simple formula is to work during those magical parts of the day at dusk and dawn. The last hour of the day is commonly referred to “Magic Hour” or “Golden Hour,” and has been the staple of many a photographer and videographer. It’s that time of day when shadows are most dramatic and the range of color is most vibrant in the sky. It’s at these times when we can find the most unique and beautiful lighting scenarios. A caution though is to be quick. Magic moments fade fast so grab them while you can.
Golden Hour is not the only time to capture HDR Photography. Most times of day can achieve equally stunning results. Try to capture the same scene at different times of day. It might surprise you how different the processed images look.
How many exposures should I take?
This question is a bit harder to answer since every scene is different. Basically, the more dynamic range in the scene, the more exposures you need to take. In most cases though, 3-5 exposures can be sufficient.
If your scene has really bright lighting or you happen to be shooting with the light source in your shot, crank the brackets up to 7 or 9.
Night photography also needs more exposure data. I’ve found that 7 exposures works better than 5 in most cases. Here are some examples of night time HDR Photography using 7 exposures:
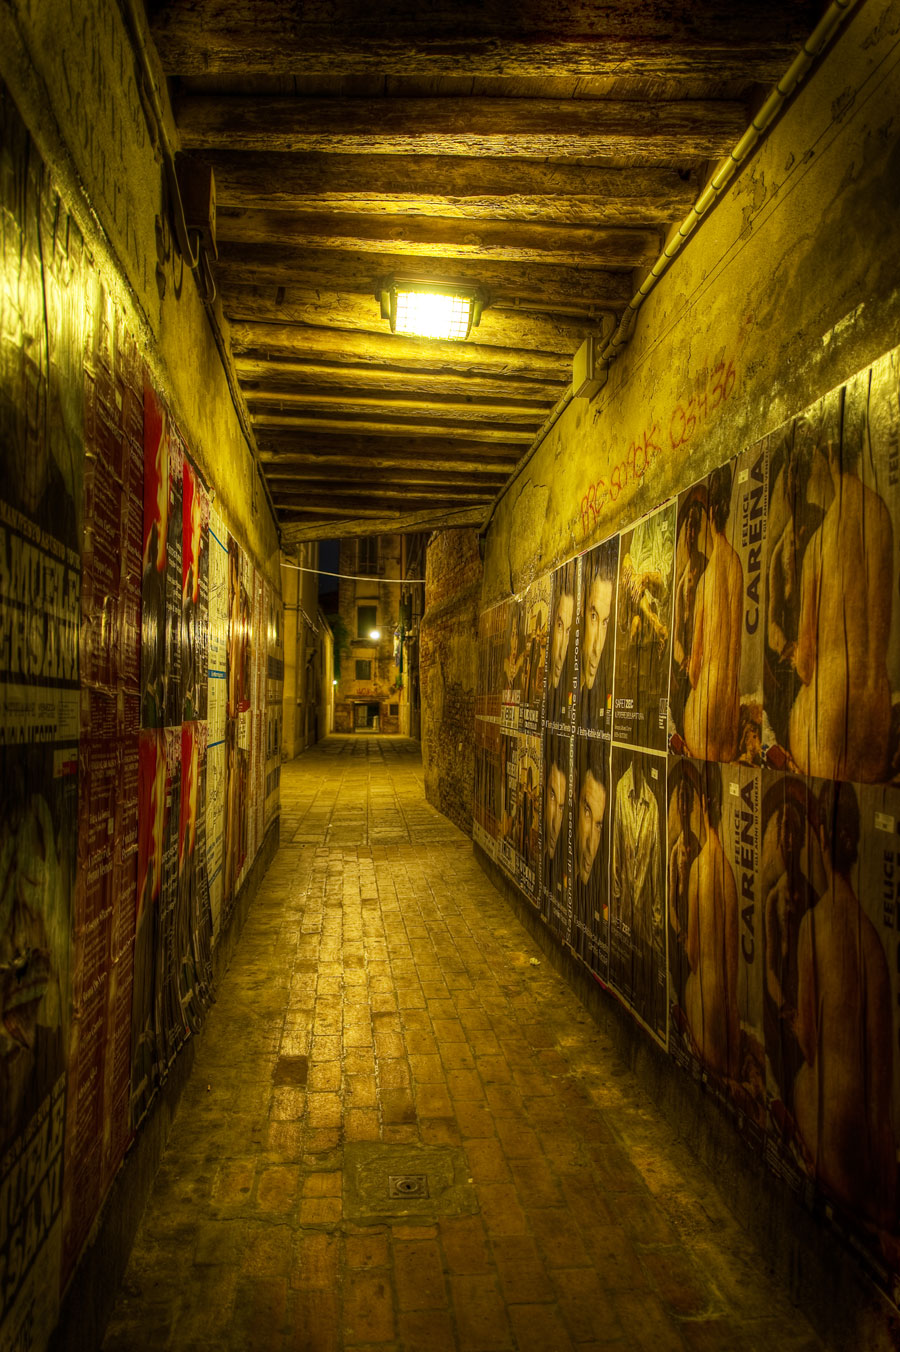

Shooting 7 or 9 exposures doesn’t mean you have to process all 7 or 9 exposures. Sometimes it’s easy to over shoot a scene. Thankfully since we live in a digital age, we no longer have to spend money developing photos. You can easily discard unnecessary exposures later. A good rule of thumb is the old saying “better safe than sorry.” It’s always better to shoot more than you need than to be stuck with less than you need.
Other factors could be the availability of a tripod and/or the shutter speeds necessary to shoot the brackets. Very often I’ve found myself in a situation where I can’t use a tripod. Hand Held HDR is a whole different animal. I cover how to cope with these situations in depth in My “Shooting for HDR Photography Without a Tripod” Tutorial.
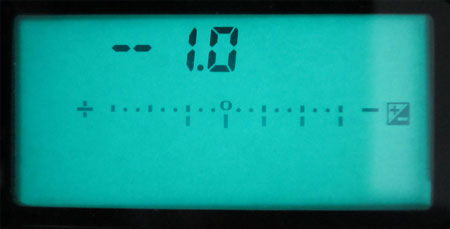
When you become a bit more advanced with these techniques you can even shift your EV values up and down the scale. This allows you to capture extra images either below or above your median exposure. For example 5 exposure brackets usually look like: -2, -1, 0, +1, +2. You could slide the scale and get, for example: -1, 0, +1, +2, +3. If this seems like too much information, just use regular EV spacing.
What are some basic camera settings to use?
Obviously if we are taking multiple exposure brackets we should enable: Exposure Bracketing on our camera. Most DSLR cameras have this feature; make sure you enable it and select your desired setting.
Make sure to shoot in “Aperture Priority Mode,” Aperture Priority (or Av) Mode allows you to choose a specific aperture value while the camera selects a shutter speed to match. This is different from manual mode, where you have to decide both values. Remember your camera’s bracketing function will automatically dictate the appropriate shutter speed for each exposure.
Another handy trick is to enable your camera’s auto shoot function. This enables you to hold the shutter button down and shoot your brackets in rapid succession. It also eliminates camera shakes caused from multiple button pressing.
You can take it one step further and get a remote shutter release for your camera. Then you don’t even have to touch the camera. This completely removes any possibility of camera shake.
ISO, F-Stop, and Shutter speed? Oh My!
This is where settings become extremely important. Let’s start with the basics.
ISO: The lower the better image quality. Easy right?
— If you have a solid tripod then yes, shooting with a low ISO is simple enough. Since our camera is completely static we can use any shutter speed we want, right?
Kind of.
F-STOP: Especially with low light or night photography, this is where that infamous High Maximum Aperture comes into the picture. The lower the F-Stop Number, the higher the Aperture. A high Aperture lets more light into the camera, increasing the shutter speed. Some lenses have Maximum Aperture ratings of f1.4 or f1.8 and can dramatically increase shutter speeds. Adjust accordingly.
A side effect of opening the Aperture is an increased depth of field which can make elements in your shot a bit softer. Double check and make sure your subject is correctly in focus before shooting the exposure brackets.
SHUTTER SPEED: Carefully consider the shutter speed of your bracketed exposures.
Long exposures X multiple exposure brackets = a long time.
It also maximizes the possibility of objects moving in your scene and creating motion blur. Remember, blurry objects can be the enemy of HDR Photography.
If there is ample light in your scene then it shouldn’t be a problem to shoot at the lowest ISO setting. Make sure you crank the ISO down all the way 100% of the time.
If you want to learn how to shoot and work in HDR when a tripod is unavailable, click to view the FREE “Shooting for HDR Photography Without a Tripod” Tutorial.
Monkey Motto#1 = “Shoot First, Ask Questions Later.”
Now that all your settings are tweaked and the camera is set to auto fire, it’s time to shoot some exposure brackets!
Since we have spent all this time talking about how to get the best images possible it’s important to also do this one simple thing: review the images while you’re still on location.
Identify if each image captures the necessary dynamic range. Do I have all the information in the brightest areas? How about in the shadows? Do I maybe need to increase the amount of exposures from 5 to 7? Make sure you identify any possible issues especially when shooting travel photography. There is nothing more depressing than messing up a shot and being 10,000 miles away from a re-shoot.
If there is any question about the quality or integrity of the bracketed exposures, make sure to re-shoot them.

