While I’ll never be sure whether it’s possible for a photographer to capture the heart of a location, with the extent of my travels over the last few years, I’ve learned that it’s certainly possible for a location to capture the heart of a photographer.
Tuscany is one of those locations that has truly captured my heart, and that’s not just the Chianti talking. There’s a longing to be there again – to wake up to the soft melody of the morning fog as it cradles the rolling hills and valleys creating a visual harmony of color, texture, and light. In this feeling also lives the desire to experience and photograph this landscape in every changing season, whether it takes months, years, decades, or a lifetime. Again, that’s not just because of the wine. 😉
There are still a few spots left on our Italy Photo Tour this May where you can join Ken Kaminesky and I as we explore and photograph Tuscany along with some of the most beautiful destinations in Italy. Spring is also one of the best seasons for a chance to capture the enchanting (and highly sought after) Tuscan fog.
** Warning: There will be a lot of good food and wine involved in this tour. 😉
Technical Mumbo Jumbo | Before and After Comparison
Camera: Nikon D800
Lens: 28-300 f/3.5-5.6 (Shot at 98mm)
Tripod: RRS TVC-33 / BH-55 Ballhead / RRS L-Plate
ISO: 50 at f/8
2 Single RAW Files
Location: Shot in Val d’Orcia Tuscany, Italy – June 2013 and post-processed in Lake Tekapo, New Zealand – March 2014
Hardware: 15” 2013 Macbook Pro Retina, Wacom Intuos5 Small Tablet
Software: Lightroom 5, Photoshop CS6, Nik Color Efex Pro 4
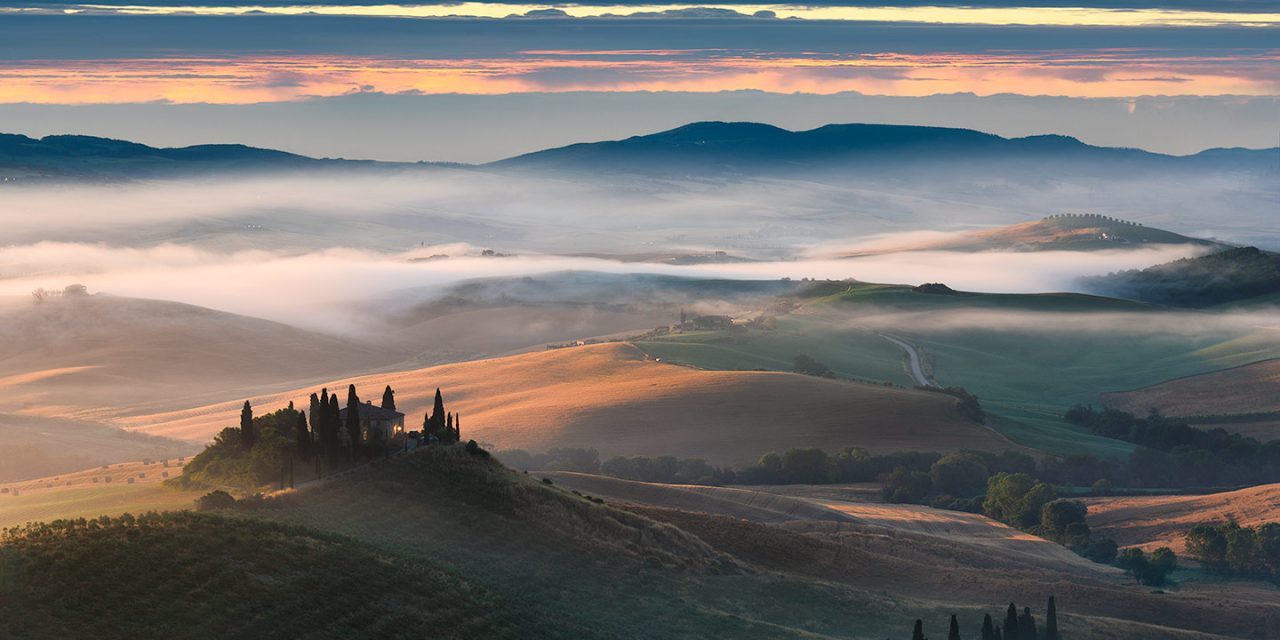
While I rarely replace skies in my photography, this was a shot where I felt it to be absolutely necessary. I shot in this location over the course of many days and on a few mornings I captured beautiful fog with clear skies and other times, I had zero fog and epic skies. This resulting image is a blend of 2 different days shooting in nearly the identical location and focal length.
After some small tweaks in Adobe Camera Raw before import, I used hand painted masks in Photoshop to blend the two RAW files together. Once the blending was complete, I gradually built up the contrast in specific areas until I felt that the light had a nice and even balance. I find that while working with fog and hazy environments, it’s best to apply adjustments selectively rather than globally since each area can have varying degrees of atmospheric haze. Post-processing images like this becomes a careful game of push and pull where careful brush strokes and masking can really make the difference, especially when applied with the pinpoint precision of a Wacom Tablet.
Of course I’ll also be covering many different post-processing techniques during our Italy Photo Tour.
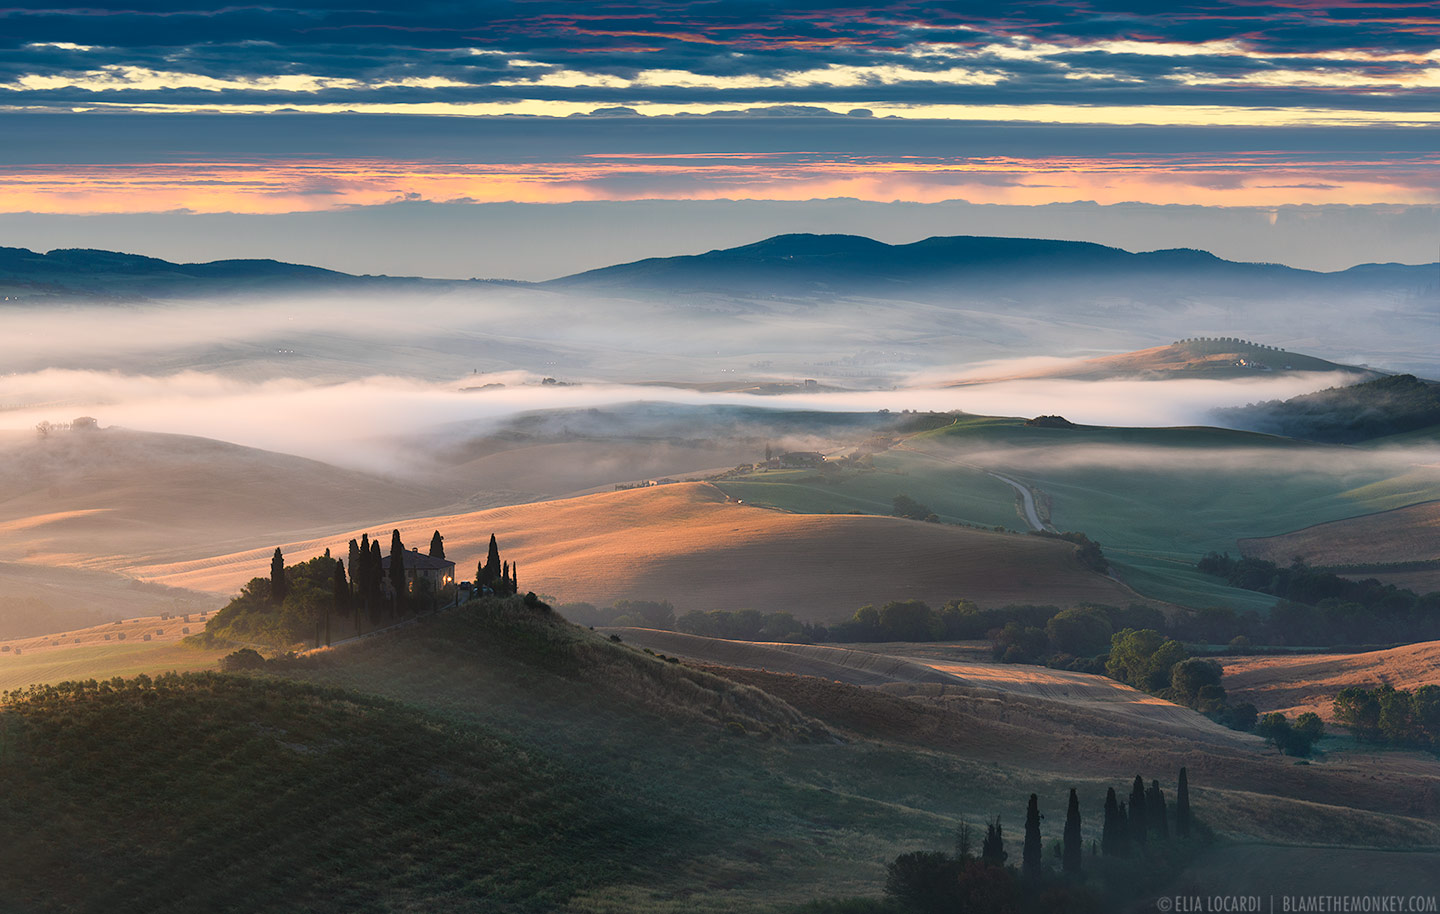
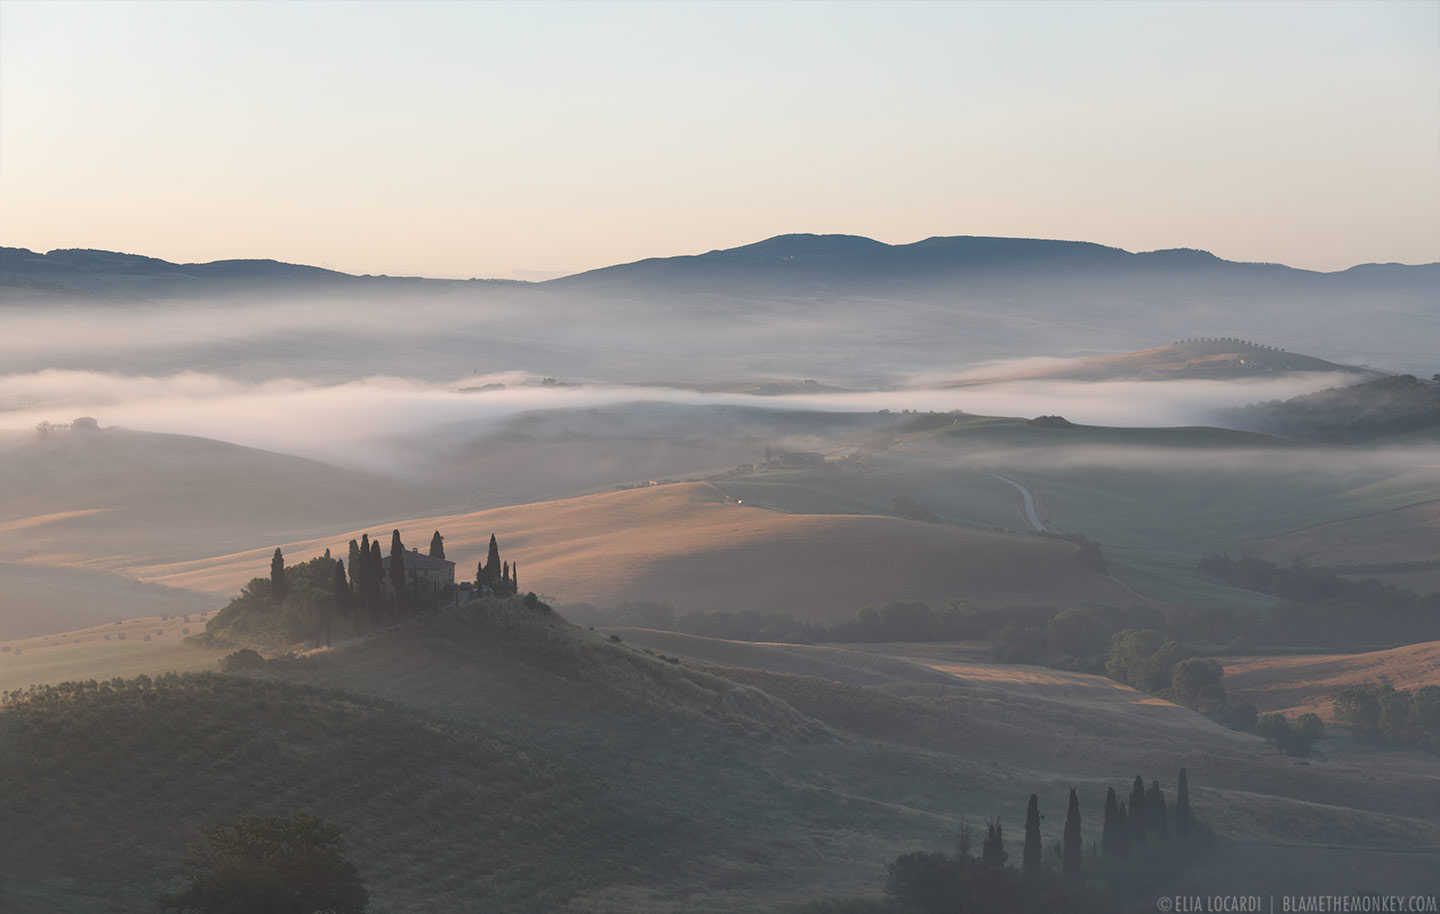
Before and After Comparison – Move the slider to see the difference between the image “Straight out of the camera” and “Fully post-processed.”


