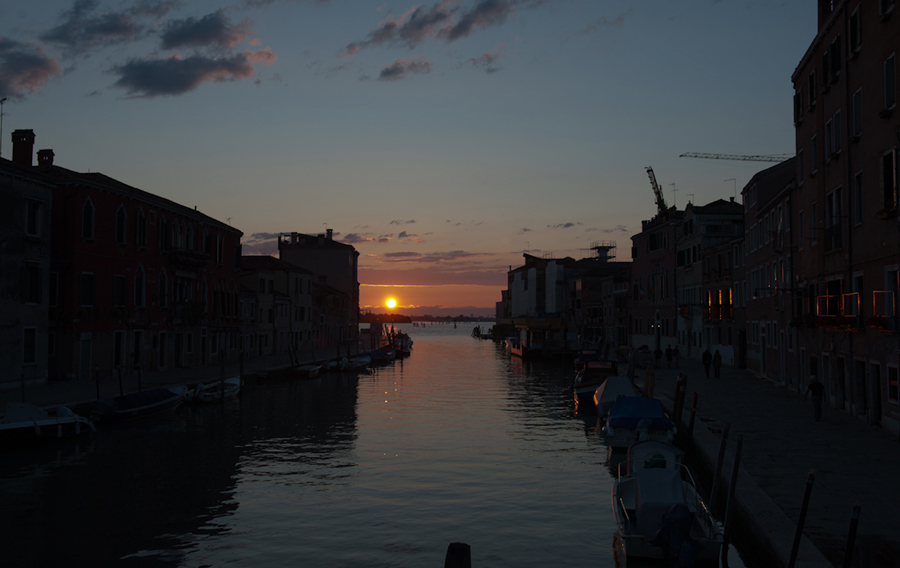
Before we start, lets take a look at that HDR photo before and after again; the one that shows the single exposure vs the HDR Photo Result.
Compare Single Exposure & HDR Photo Result
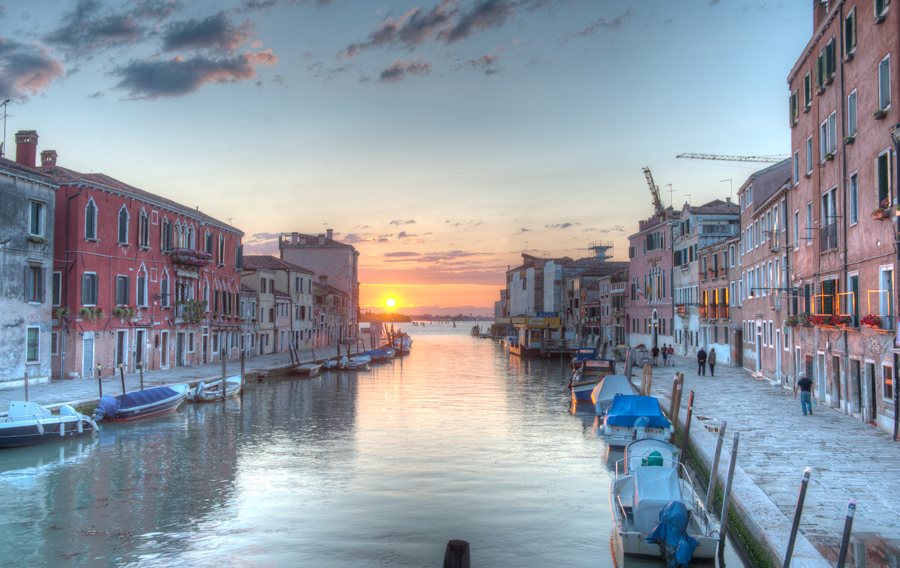
Now let’s take a look at that Same HDR Result compared to the Final Color Corrected Result. (Also known as the “many hours later” version)
Compare Photomatix HDR Photo Result & Final Image
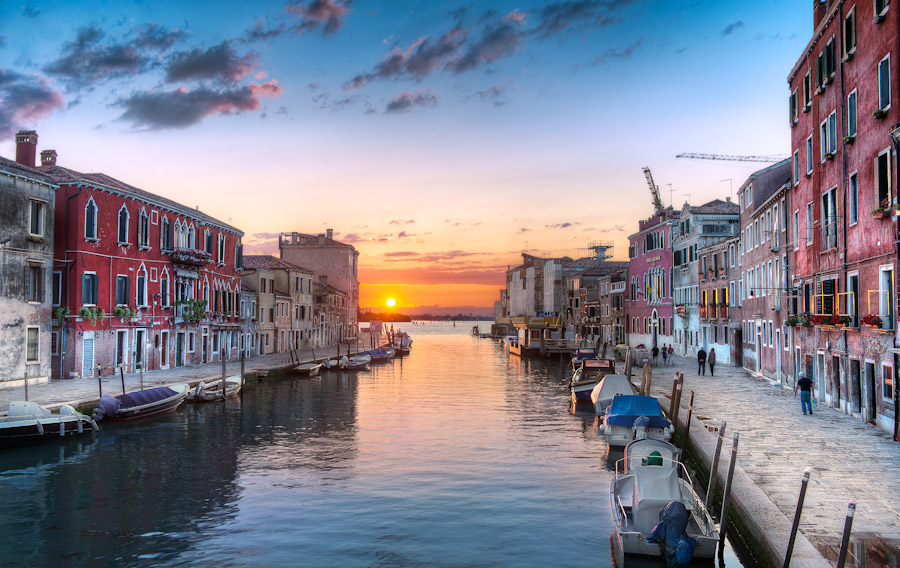
Quite a difference right? Like I said in the previous section, HDR is just one step on the Photo Post Processing Path. It’s no evenly paved path either. In fact, you don’t even need to take the damn path. You can cut directly through the woods instead, punch a black bear in the face, and still end up in photoshop…
What the hell am I talking about?
Well, this ‘tweaking’ or ‘sweetening’ of the image is by far the most intuitive and creative part of the whole process. Each hdr photo is completely different and requires us to take a completely different path. It’s also the part of the process where I spend the most time.
Remember when Tyler Durdan, said, “You are not a beautiful and unique snowflake?” He wasn’t talking about Photos… Silly random reference huh?
Anyway, what I can tell you, first and foremost, is that I rarely use plugins to achieve looks with color. 90(freakin)% of what I do is done with simple masking and traditional color correcting techniques. Most of the other 10% is the result of way too many shots of espresso and a self diagnosed case of insomnia.
Adobe® Photoshop
Blending in parts of original exposures
This is an important step that’s often overlooked by HDR Artists. Sometimes the HDR photo result looks bad in certain areas. For example, I rarely like what HDR Photo Software does to trees. It just doesn’t ever look right. Sometimes it’s like they’re neon disco trees. So, rather than brewing up some electric cool aid, I just blend in one of the exposure brackets.
Another useful trick is using original (non HDRd) exposures to fix ghosting issues. This works great for water, disco trees, or any other moving object that wasn’t correctly solved with Photomatix.
The following 2 Before and After Comparisons are about 20% HDR, meaning that 80% of the photos are made from combining the original exposures in Photoshop. In both cases, the HDR only exists in the buildings. Everything else is made up of the original exposures. — Remember that the slider is comparing the neutral exposure bracket with the Final Color Corrected Result.
Queenstown Lookout

")
Riomaggiore at Dusk

")
Painting out crap
That’s right, I paint the crap out of crap. I paint crap in, out, on, you name it, I paint it. I’ve been using the rubber stamp tool since 1999, It completes me. There is something strangely satisfying about painting people out of pictures. It makes me all warm and fuzzy inside.
Check out this Before and After Comparison “A Stunning View,” and watch the woman on the left magically dissapear.
(900)")

Adding texture
Texture FTW! — Depending on what kind of mood I’m in, I use a couple of different tools to add texture. My favorite though, is Sharpener Pro by NIK Software. It’s absolutely, hands down, the best freaking sharpener out there.
Check out the difference with the original photo on the left and the sharpened version on the right.

Noise removal
I’m well known for adding a ton of texture and detail to photos. However, the side effect to pumping up the texture and detail is an increased amount of noise. Unless you are specifically trying to get a grainy result, there are some great tools out there to help combat this issue.
Also, it’s worth noting that I always do a noise reduction in my skies. I add a ton of contrast, yes, but I rarely add any texture; and as i said, I always reduce the noise.
There are quite a few plug ins that do a snappy job at noise reduction. My favorite is NIK Software Dfine. Expensive & Slow = Yes, but Awesome = Totally Yes.
Check out the difference with the original photo on the left and the version with noise reduction on the right.

Selective Contrast and Color Corrections
This is by far my favorite part. Color Correction. MMMMMMmmmm Color…
Back in 1999 while I was in Art School, I landed a gig working with Photoshop 5.0. I was lucky enough to get to work with some of the best color correction guys in the biz. Since it was all for high-end print though, we did everything in CMYK. So later, when I started working in RGB, I LOLd and AFAICT, RGB is easier than CMYK, IYKWIM.
It’s important to express to you that all of this photoshop voodoo that I do do, I do do without using any pre-packaged color effects. It’s all done the good old fashioned way with garbage masks, paint strokes, and adjustment layers. I also pay attention to the histogram. Nifty eh?
Here are a few of my favorite examples. First you’ll see all the photoshop layers used to create the final look. Then, underneath, you can toggle the Before and After Comparison. Enjoy! 😉
Windows in Time


")
Lonely Bridge


What happens next?
I sleep. A bit.


