Processing files in HDR using Photomatix Pro
Lets continue this little HDR Adventure.
Now that we spent time aligning and exporting our exposure brackets, it’s time to begin processing them in HDR. This section is designed to be an introduction to processing HDR Photography.
Note: Photomatix Pro is a great application for creating HDR Photography. It’s not the only piece of software out there but it is one of the best. The following demonstration is done using Photmatix Pro but similar results can be achieved using other software. Feel free to experiment with your favorite HDR software.
The First step is to click the button: “Generate HDR”
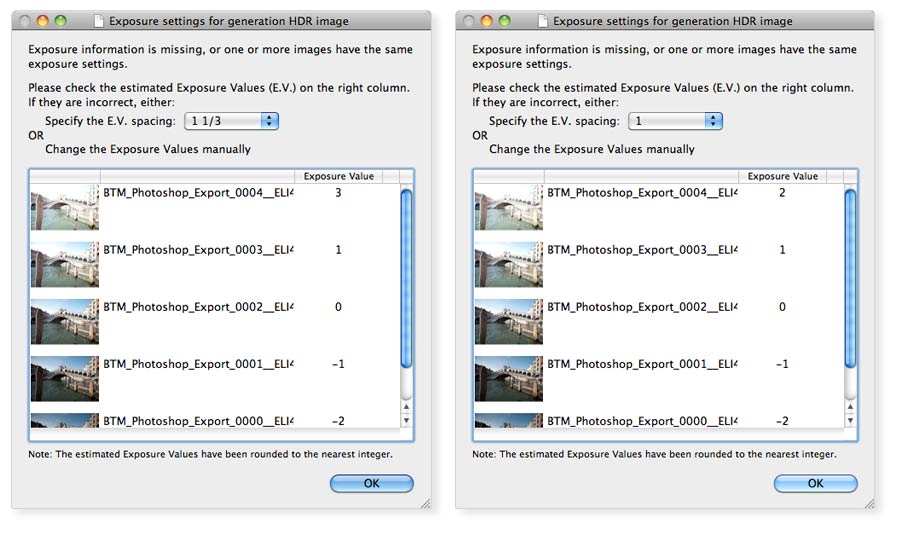
A Menu will appear asking you specify the E.V. (Exposure Values) spacing. The reason this window appears is because editing these files in Photoshop and exporting them erases the meta data. This isn’t a problem because we can re-specify the E.V. spacing. Most cameras have options to set the spacing values from .25 all the way to 2. Select the appropriate Spacing you used when shooting these exposures. In this case, I know that I used A Bracket Spacing of “1”
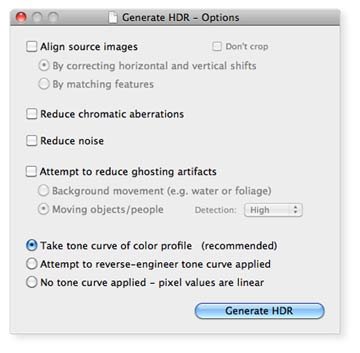
Another Window will appear. Leave all options blank and make sure that “Take Tone Curve of Color Profile” is selected. This allows us to use the ICC profile associated with the files.
Notice that I left off the option to “Align Source Images.” This feature is weak at best. Photoshop will out perform this option 100% of the time. — Furthermore, toggling this option on when your exposures have already been aligned can potentially cause unwanted shifts.
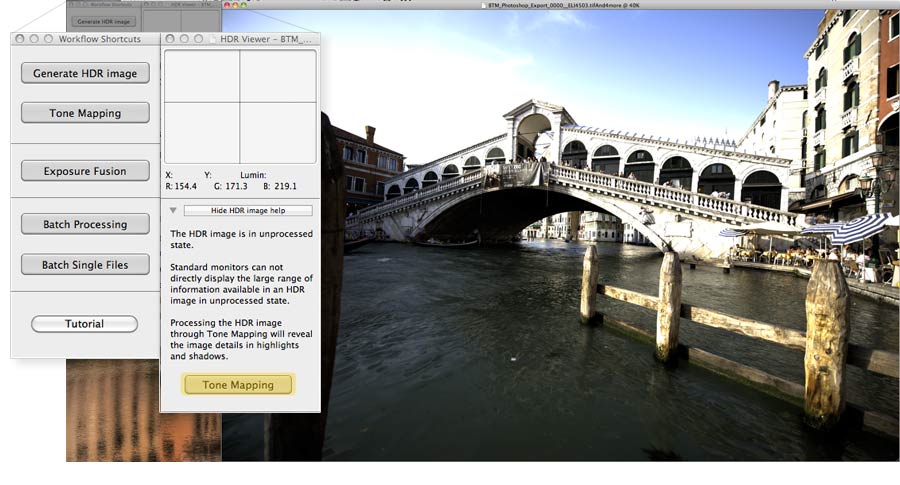
Now our HDR image shows up on screen in an unprocessed state. Click “Tone Mapping.”
This is where it starts to get interesting. On the left are a bunch of sliders that influence the look of our HDR Photo. Some of these are crucial in adjusting the HDR effect. Most of these sliders are destructive to the color data and best left to post processing in Photoshop. A big no no in Post Processing is flattening color corrections into the image. Using a combination of Smart Filters and Adjustment Layers in Photoshop is the best method to keep the Editing Process Non Destructive and Non Linear. I plan to cover this workflow mumbo jumbo extensively in the Next Part of this tutorial series.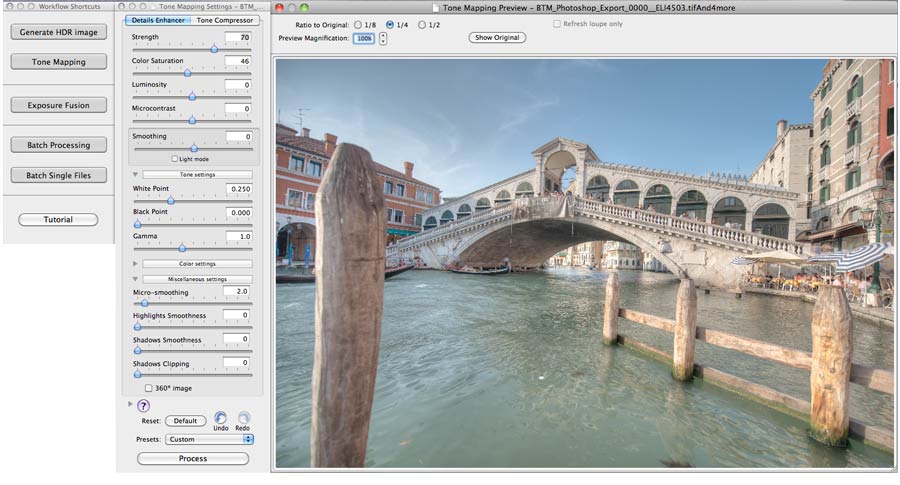
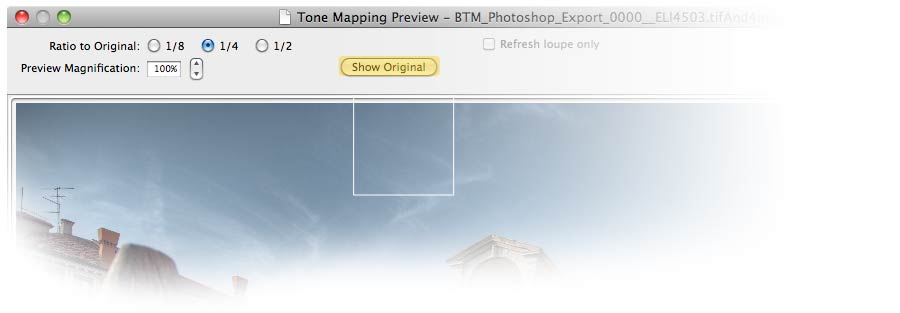
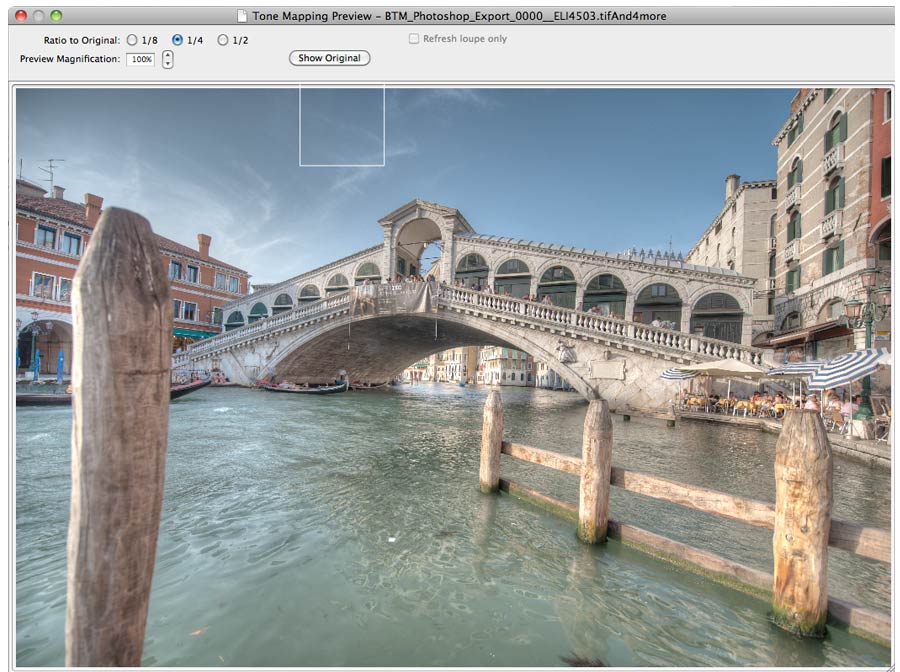
Take a Look at the top of the Tone Mapping Preview Window. Front and center there is a button called “Show Original” This allows you to toggle view back and forth between the HDR result and the original (medium exposure) image.
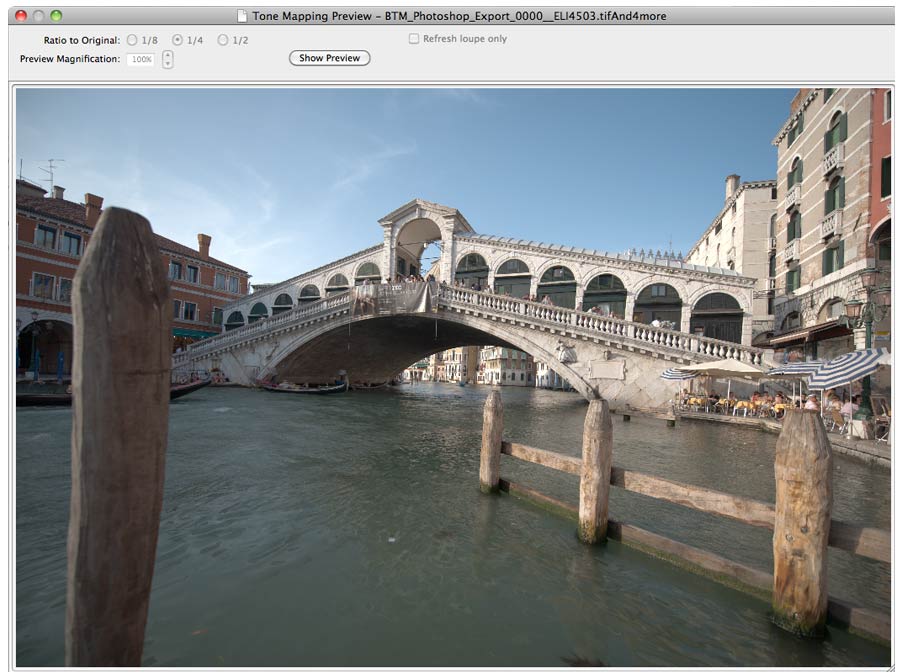
Take a look at the following before and after. On the left is our Original Image; and on the right is our basic HDR result.
[beforeafter]
[/beforeafter]
So far it’s an amazing difference. Notice how the detail and color data jumps back out of the image especially in darker areas. Photmatix Pro automatically combines all the exposure brackets together to create an HDR (High Dynamic Range) image.
From this point on quite a few things need to be done to finalize this image. The first step is to maximize results by tweaking options inside of Photmatix Pro.
Correcting issues such as ghosting from moving objects also need to be addressed. See the before and after below.
[beforeafter]

[/beforeafter]
Multiple passes also need to be processed from Photomatix Pro and combined in Photoshop.
Stay Tuned for the next part of this tutorial series where you will learn how to maximize your results with HDR Photography and go from this, to this:
[beforeafter]


